Magnus Customization
Magnus Template can be customized as per one's requirement and need. You can easily setup it with admin panel under Magnus > Magnus Settings. Follow the steps and screenshots below to know more.
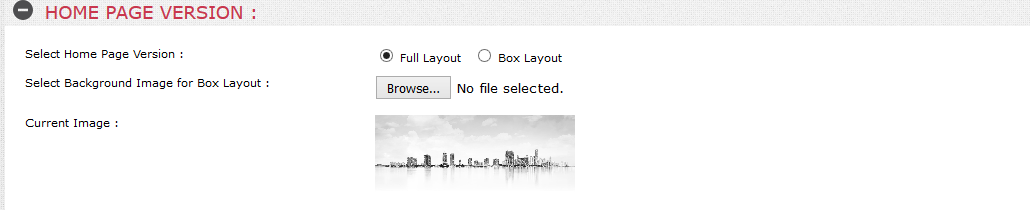
Homepage Layout
There are 2 homepage layout for Magnus. Choose your favourite layout from here.
Homepage Version 1(Full Layout) is the default wide layout.
Home Page Version 2(Box Layout) is the Boxed Layout.
Once changes are done click on submit and your changes will be applied to your store front.
Background Image for Homepage Version 2(Box Layout) can also be changed from here and applied.
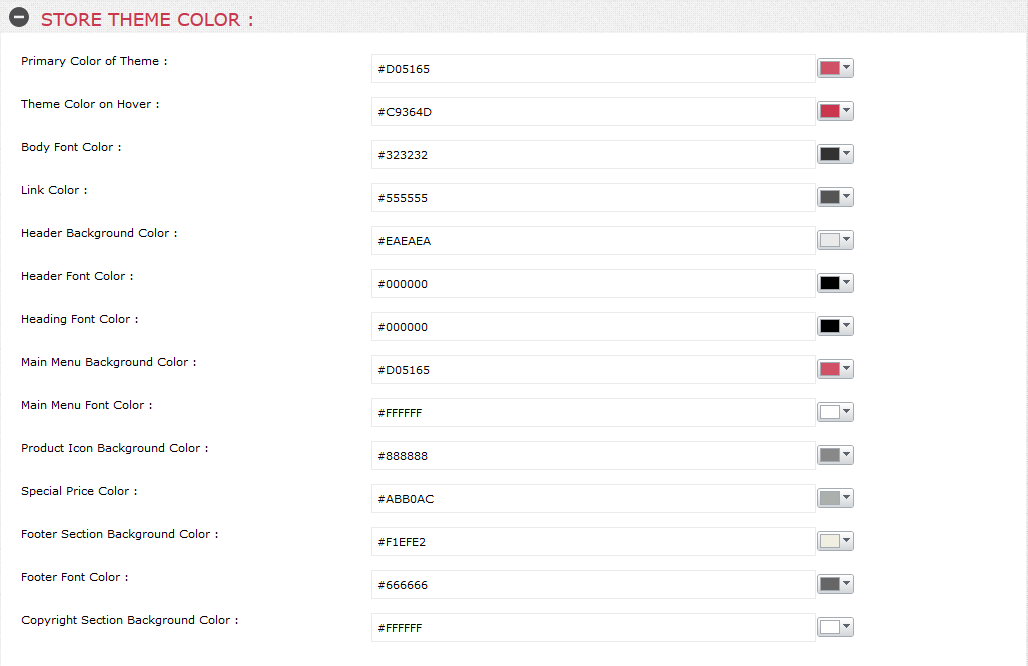
Store Theme Color
Magnus comes with unlimited Color option with Color Picker. You can also add your custom color code.
Store Logo
Upload your desired Logo for the store. Once done click on Submit and the logo will be applied in the store front.
You can also view the uploaded image as "Current Image".

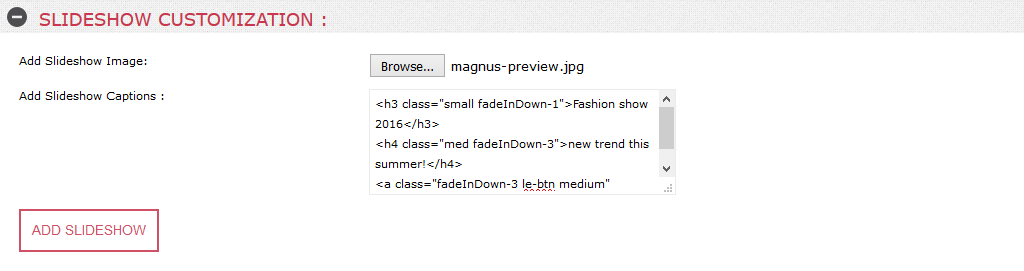
Slideshow Customization
You can add unlimited number of slideshow images. You can browse and upload your desired images.
Please just follow the class structure that used with the slideshow text to get effect as shown in demo.
Once changes are done click on Add Slideshow and your changes will be applied to your store front.
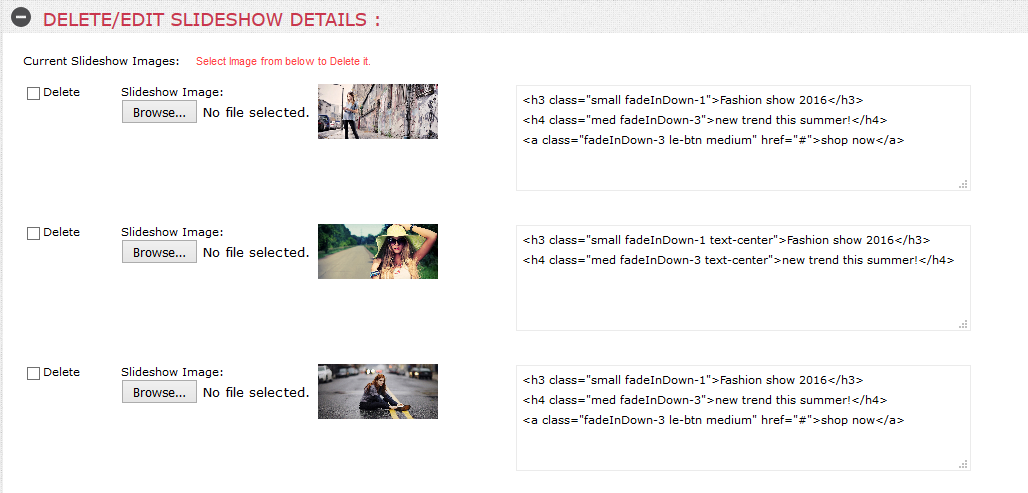
Delete/Edit Slideshow Details
Browse and Edit the description of the image that you want to upadte.
Select the image that you want to delete and click on submit, the selected image will be deleted.
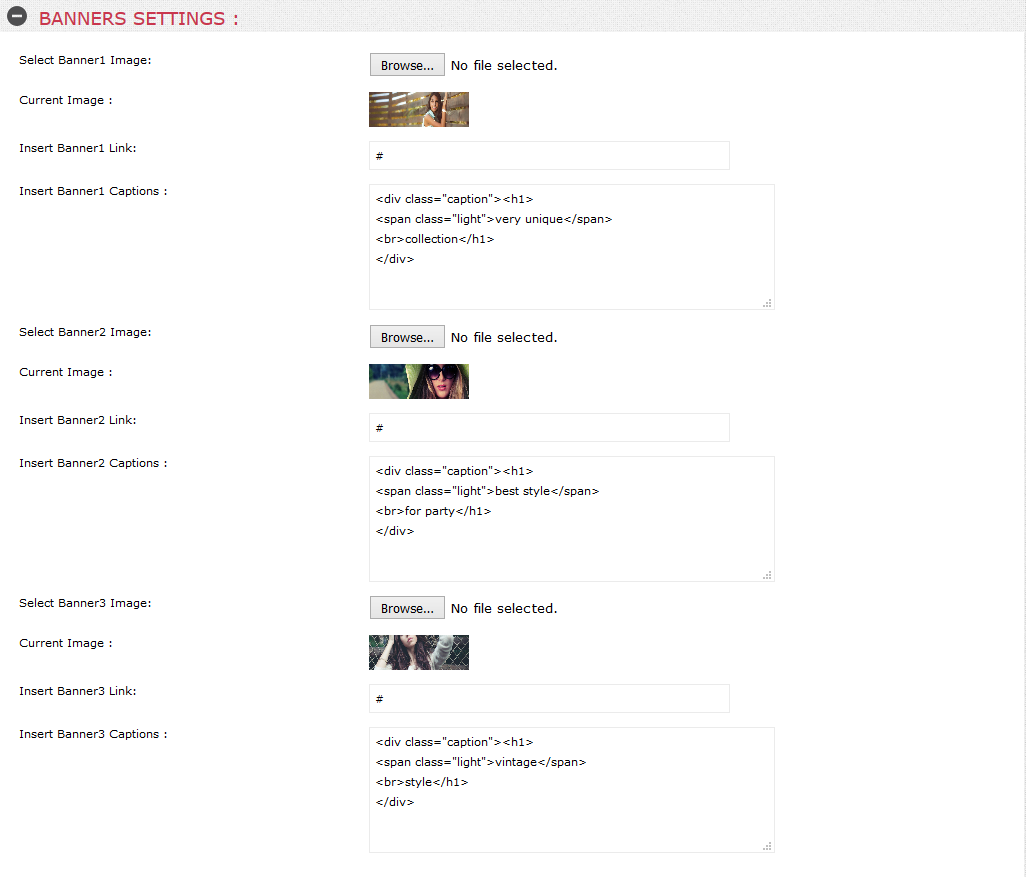
Banner Settings
You can choose banners and link as per your wish.
Support Icons Above Brand Slider
You can set up icons and text as per your wish.
Please click here for find the
icons as per your wish.

Store Contact Details
You can set up Contact Details as per your wish.
Contact Detials shown in Get In Touch section in footer.

Store Social Links
You can set up Store Social Links as per your wish. It displyed in Follow Us section in footer.

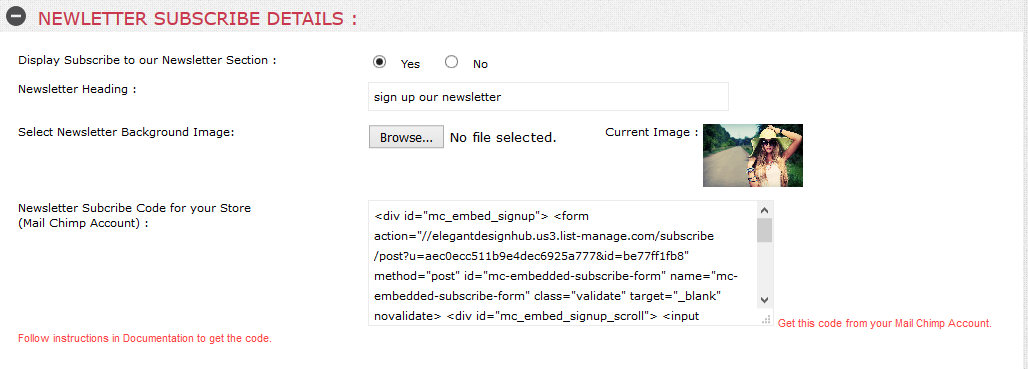
Newsletter Subscribe Details
Select "Yes" or "No" to display or remove the newsletter section from theme.
Value of Newsletter Section Title can be used to Change the Heading of Section.
You can set the Background image of Newsletter Section as per your wish.
Managing Newsletter has been made easy with Mailchimp integration in Magnus.
New users can signup for free Mailchimp
Services, while the already registered users can create their Signup forms and copy paste the
code here.
New Users can Signup for free with Mailchimp and follow the instructions of Mailchimp
Services.
After Signing In or Logging In successfully, go to Lists in your Dashboard.
Click on "Create List" on top right corner of your screen.
After creating the List successfully, click on the List name, this will take you to the
details of particular list.
Then click on Signup Forms Tab, this will open the details of different types of forms.
Click on "Embedded Forms options", this will open the "Embedded Form Code" detail with the
preview of different forms.
Click on "Super Slim" option and copy the code below it. Paste the code in the text-area
provided, as shown in image below.
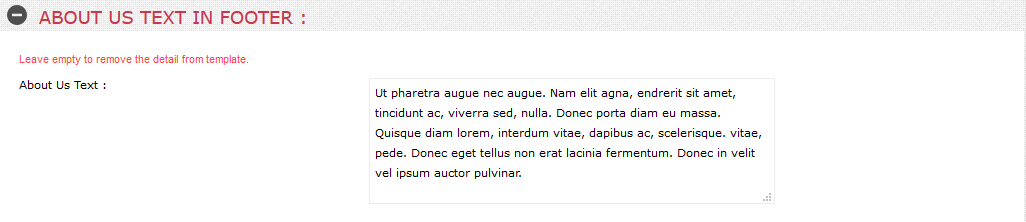
About us Text in Footer
You can set about us text as per your wish. It displyed above follow us section in footer.
Payment Method Image
You can set payment image as per your wish. It displyed above copyright bar.

Copyright Bar (Bottom of Page):
You can set copyright text as per your wish. It displyed in copyright bar.

Google Map
The Google Maps is used to embed the Google map location of your store in the
Contact Us page.
Paste the Google iframe code of your address as in the image below.

Extra Info Pages
You can find it under admin panel Tools > Extra Info Page Manager.
Please edit the content only, Provided in info page manager.

YouTube Videos(Extra Videos)
You can find it under admin panel Catalog > Extra Videos.
Add the YouTube Videos as per your wish to display it on Product Page in Description Tab.
Please just add the embed code only (e.g : 6v2L2UGZJAM)
