Magnus Installation Guide
Magnus - A Premium OsCommerce Template, It comes with v2.3.4
Note :
You are advised to read the installation procedure carefully, backup your store files and database first before installation or making any changes.
Read our Documentation to configure Magnus from Admin.
Magnus Template Installation as Below :
- Magnus - Quick Start Installation Steps:
- Magnus Quickstart Package comes with the osCommerce v2.3.3 and v2.3.4. Install it as per your wish.
- Unzip the Magnus-Package.zip and find the Magnus-Quickstart Folder.
- If you want the osCommerce v2.3.3 then upload the magnus-2.3.3 folder on server via FTP ( like: Filezilla ) or CPanel.
- Start installation by typing your URL of the directory you have placed Quick Start files. The installation page should
appear as normal OsCommerce installation
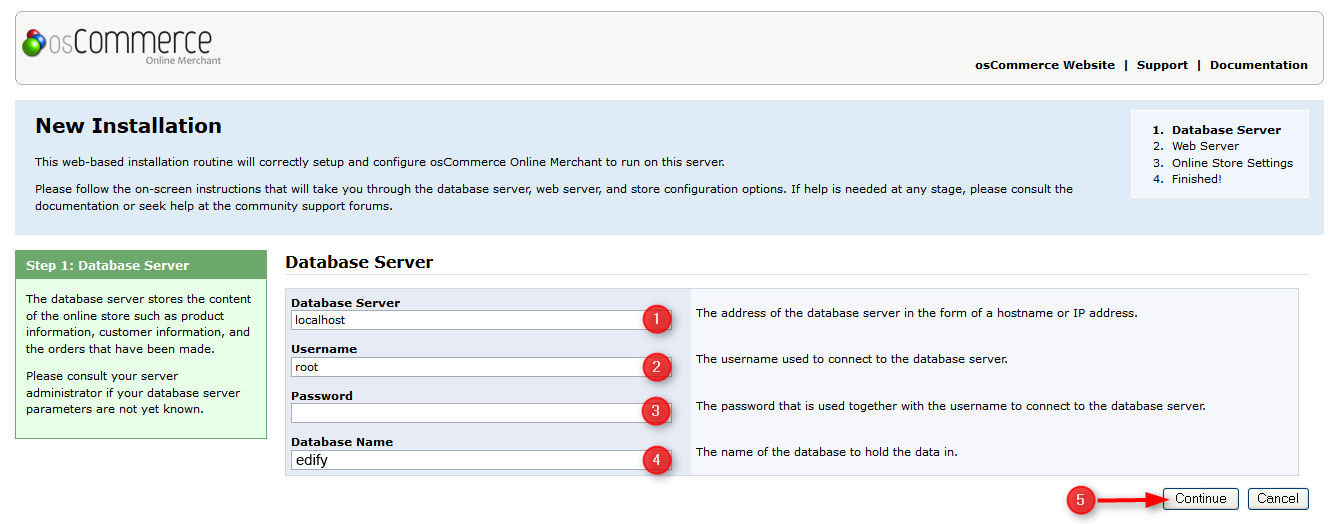
(Ex: localhost or [domain-name] / [directory name])Database Details
1) Add server host name (Ex: localhost).
2) Add username of host.
3) Add password of host.
4) Add database name (Ex : edify, database must be created before installation).
5) Click on Continue. This will start your Magnus installation process.
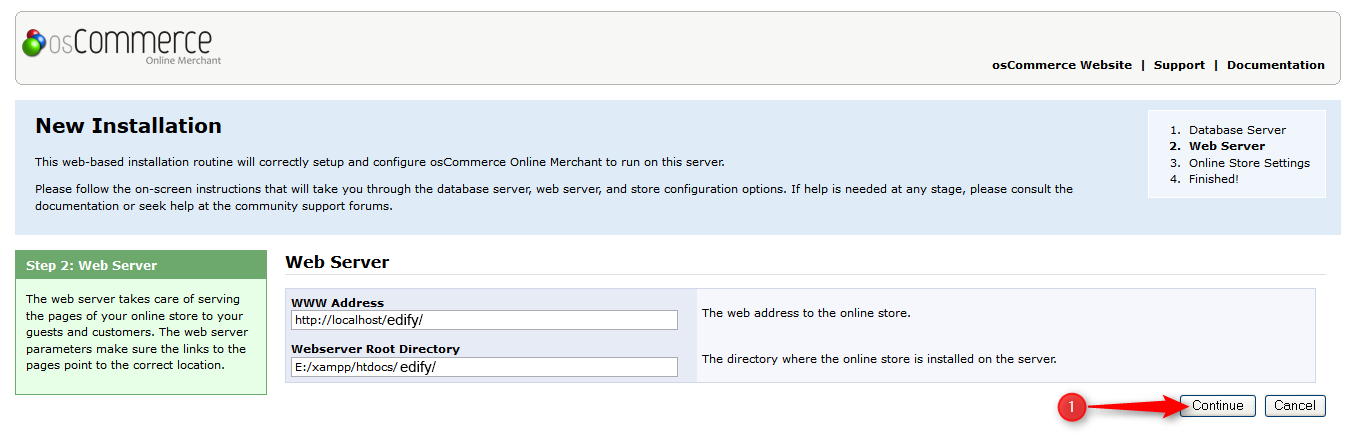
Web Server
1) Click on Continue For next step.
Store Details
1) Enter the Store Information as per your requirement.
2) Click on Continue For next step.

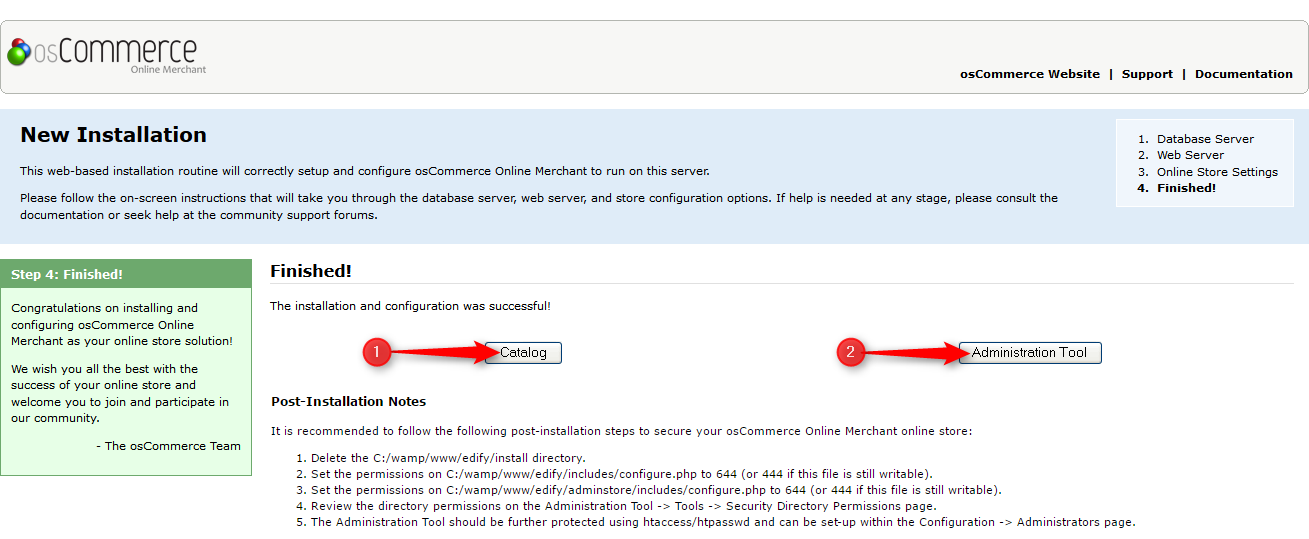
Store Demo
1) Click on Catalog to view your store demo.
2) Click on Administrative Tool to view your store admin .
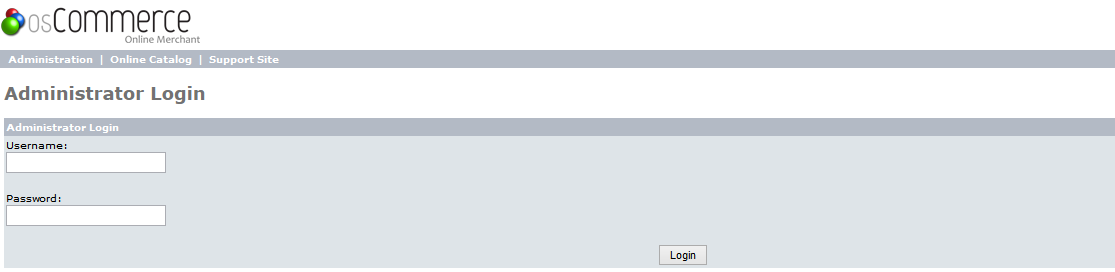
Administrator Login Page
1) Go to admin page by typing the admin folder name in URL.
( Ex : In our case we have the admin folder name as admin (localhost/magnus_deno/admin) ). This will redirect you to admin login page.